NỘI DUNG BÀI HỌC
✳️ Cách truyền data đầu vào trong Body dạng JSON
✅ Sử dụng phương thức POST trong request
Phương thức POST trong RESTful API dùng để gửi dữ liệu đi, hay có thể hiểu nhanh là tạo mới dữ liệu.
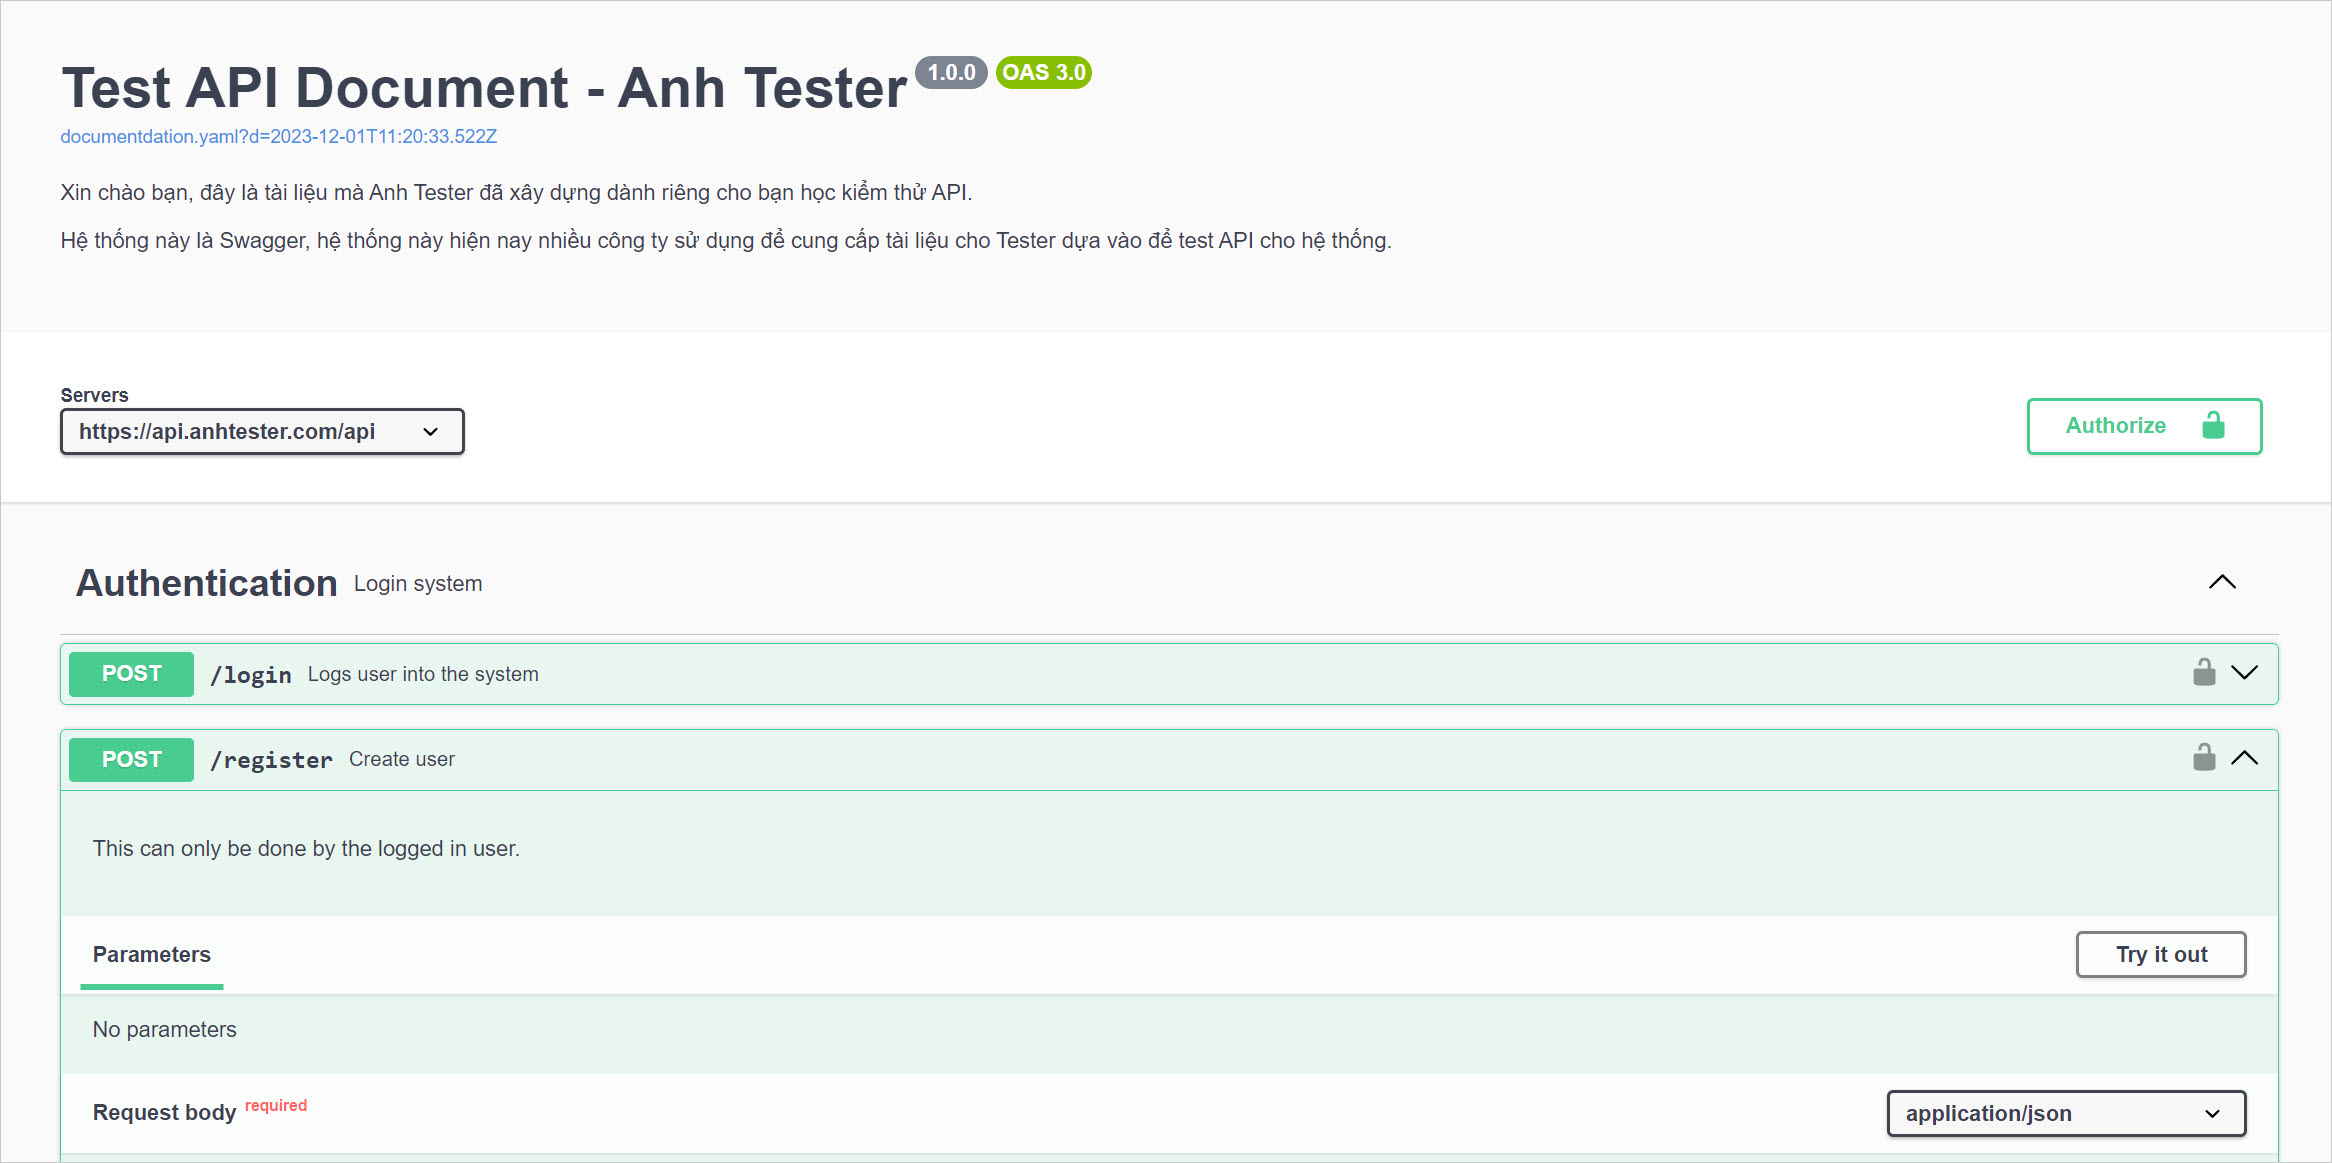
Các bạn xem document của API register user sẽ thấy yêu cầu là phương thức POST. Dùng để tạo mới một user với thông tin đi kèm.
https://api.anhtester.com/swagger/index.html#/Authentication/Register
Và đơn giản lúc này thay vì các bạn dùng hàm get() ở phần request trước đây để get dữ liệu thì giờ thay bằng hàm post() để gửi request cho yêu cầu phương thức POST từ API.
@Test
public void testRegisterUser() {
    RequestSpecification request = given();
    request.baseUri("https://api.anhtester.com/api")
        .accept("application/json");

    //Thực hiện phương thức post() để gửi dữ liệu đi
    Response response = request.when().post("/register");
    response.prettyPrint();

}
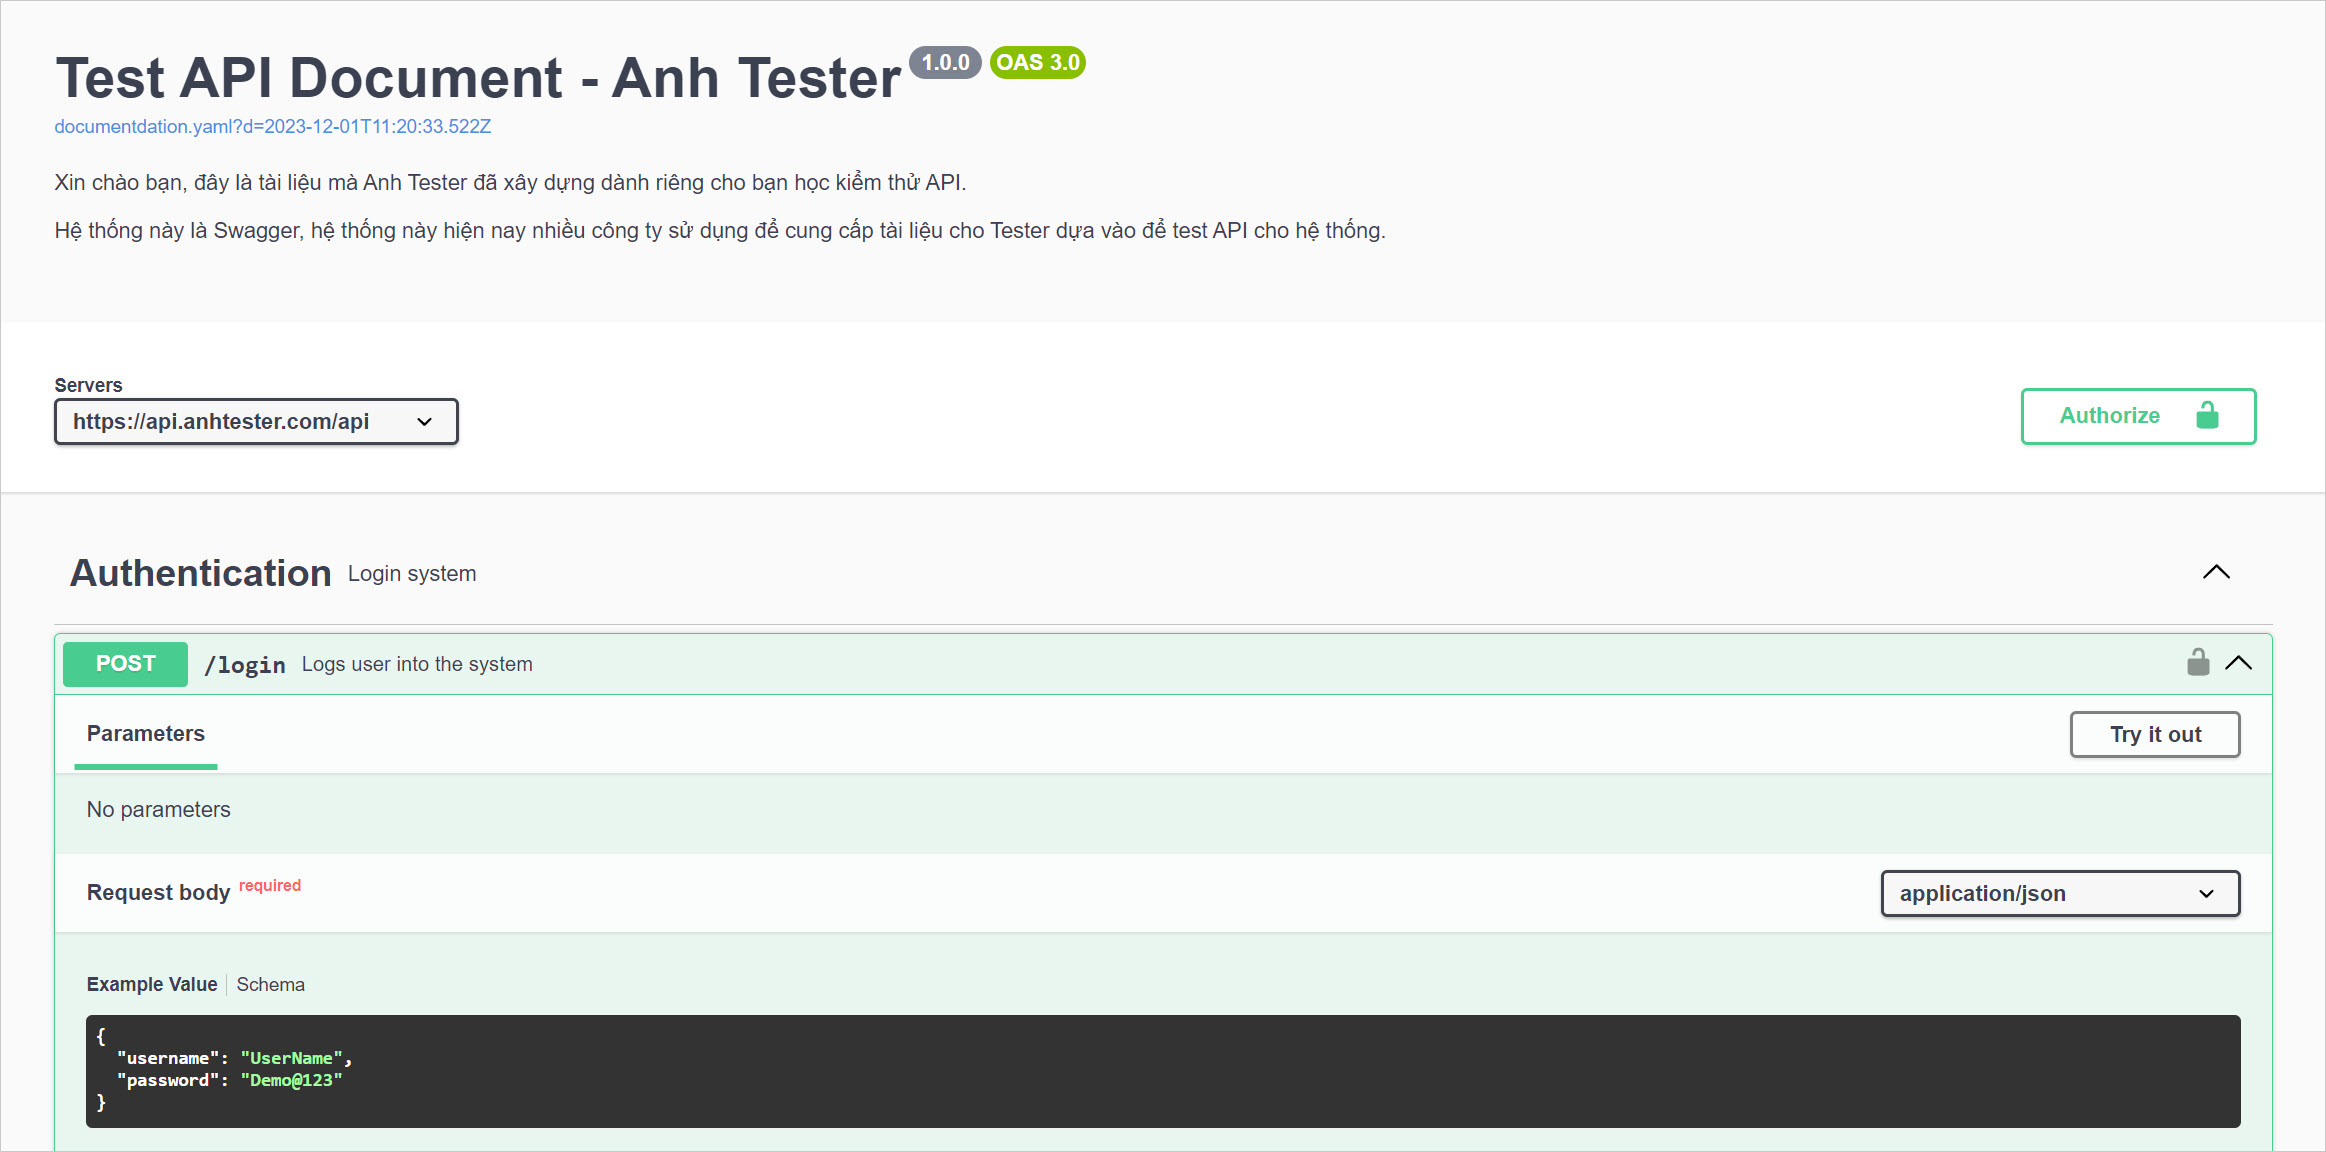
Ví dụ khác cho API dùng phương thức POST là login user https://api.anhtester.com/swagger/index.html#/Authentication/loginUser
@Test
public void testLoginUser() {
    RequestSpecification request = given();
    request.baseUri("https://api.anhtester.com/api")
        .accept("application/json");

    //Thực hiện phương thức post() để gửi dữ liệu đi
    Response response = request.when().post("/login");
    response.prettyPrint();
    response.then().statusCode(200);
}
Tuy nhiên thì kết quả trả về là lỗi 422 do chúng ta chưa truyền data đầu vào trong body 😁
{
    "message": "The username field is required. (and 1 more error)",
    "errors": {
        "username": [
            "The username field is required."
        ],
        "password": [
            "The password field is required."
        ]
    }
}

java.lang.AssertionError: 1 expectation failed.
Expected status code <200> but was <422>.
Tiếp theo chúng ta cần truyền data đầu vào để khắc phục lỗi trên, cũng như đảm bảo đầy đủ yêu cầu cho từng Endpoint với phương thức POST.
✅ Cách truyền data đầu vào trong Body dạng JSON
Ví dụ API đầu tiên là login user thì yêu cầu đầu vào là data dạng JSON với 2 field "username" và "password"
{
  "username": "anhtester",
  "password": "Demo@123"
}
Trước tiên chúng ta cần lấy đối tượng request để gọi hàm contentType() để xác thực kiểu giá trị đầu vào là "application/json"
Tiếp theo dùng đối tượng request để gọi hàm body() và truyền trực tiếp đoạn data JSON vào dấu ngoặc kép, vì nó là chuỗi JSON.
@Test
public void testLoginUser() {
    RequestSpecification request = given();
    request.baseUri("https://api.anhtester.com/api")
        .accept("application/json")
        .contentType("application/json")
        .body("{\n" +
            "  \"username\": \"anhtester\",\n" +
            "  \"password\": \"Demo@123\"\n" +
            "}");

    //Thực hiện phương thức post() để gửi dữ liệu đi
    Response response = request.when().post("/login");
    response.prettyPrint();

    response.then().statusCode(200);
}
Kết quả nhận về cũng là một JSON chứa token giá trị là chuỗi:
{
    "token": "155|jNTLrB3ohafsSPGeuYTJ8Bl2yttawS9F6fHqwW8v0357dc9f"
}
Chúng ta dùng giá trị token này để thực hiện cho các Endpoint khác trong tài liệu kiểm thử API.
🔆 Ví dụ khác dùng phương thức POST register user
@Test
public void testRegisterUser() {
    RequestSpecification request = given();
    request.baseUri("https://api.anhtester.com/api")
        .accept("application/json")
        .contentType("application/json")
        .body("{\n" +
            "  \"username\": \"anhtester01\",\n" +
            "  \"firstName\": \"Anh\",\n" +
            "  \"lastName\": \"Tester\",\n" +
            "  \"email\": \"anhtester01@email.com\",\n" +
            "  \"password\": \"Demo@123\",\n" +
            "  \"phone\": \"0123456789\",\n" +
            "  \"userStatus\": 1\n" +
            "}");

    //Thực hiện phương thức post() để gửi dữ liệu đi
    Response response = request.when().post("/register");
    response.prettyPrint();
    response.then().statusCode(200);
}
Kết quả:
{
    "message": "Success",
    "response": {
        "username": "anhtester01",
        "firstName": "Anh",
        "lastName": "Tester",
        "email": "anhtester01@email.com",
        "phone": "0123456789",
        "userStatus": 1,
        "id": 27
    }
}
![[REST Assured] Bài 5 - Sử dụng POST method trong REST Assured](/uploads/lesson/course_banner_rest_assured_-_anh_tester_2023.jpg)
 Zalo
Zalo