![[REST Assured] Bài 10 - Xây dựng common class để tái sử dụng trong code](/uploads/lesson/course_banner_rest_assured_-_anh_tester_2023.jpg)
NỘI DUNG BÀI HỌC
✳️ Tạo class chung để lưu config data
✳️ Tạo BaseTest để chứa các hàm chạy trước
✳️ Xây dựng class data builder
✅ Sử dụng Properties file trong Java
🔆 File Properties trong Java là như thế nào?
File properties trong Java là một file có phần mở rộng .properties và là một loại file đặc trưng trong ngôn ngữ lập trình Java. Thường dùng trong Java.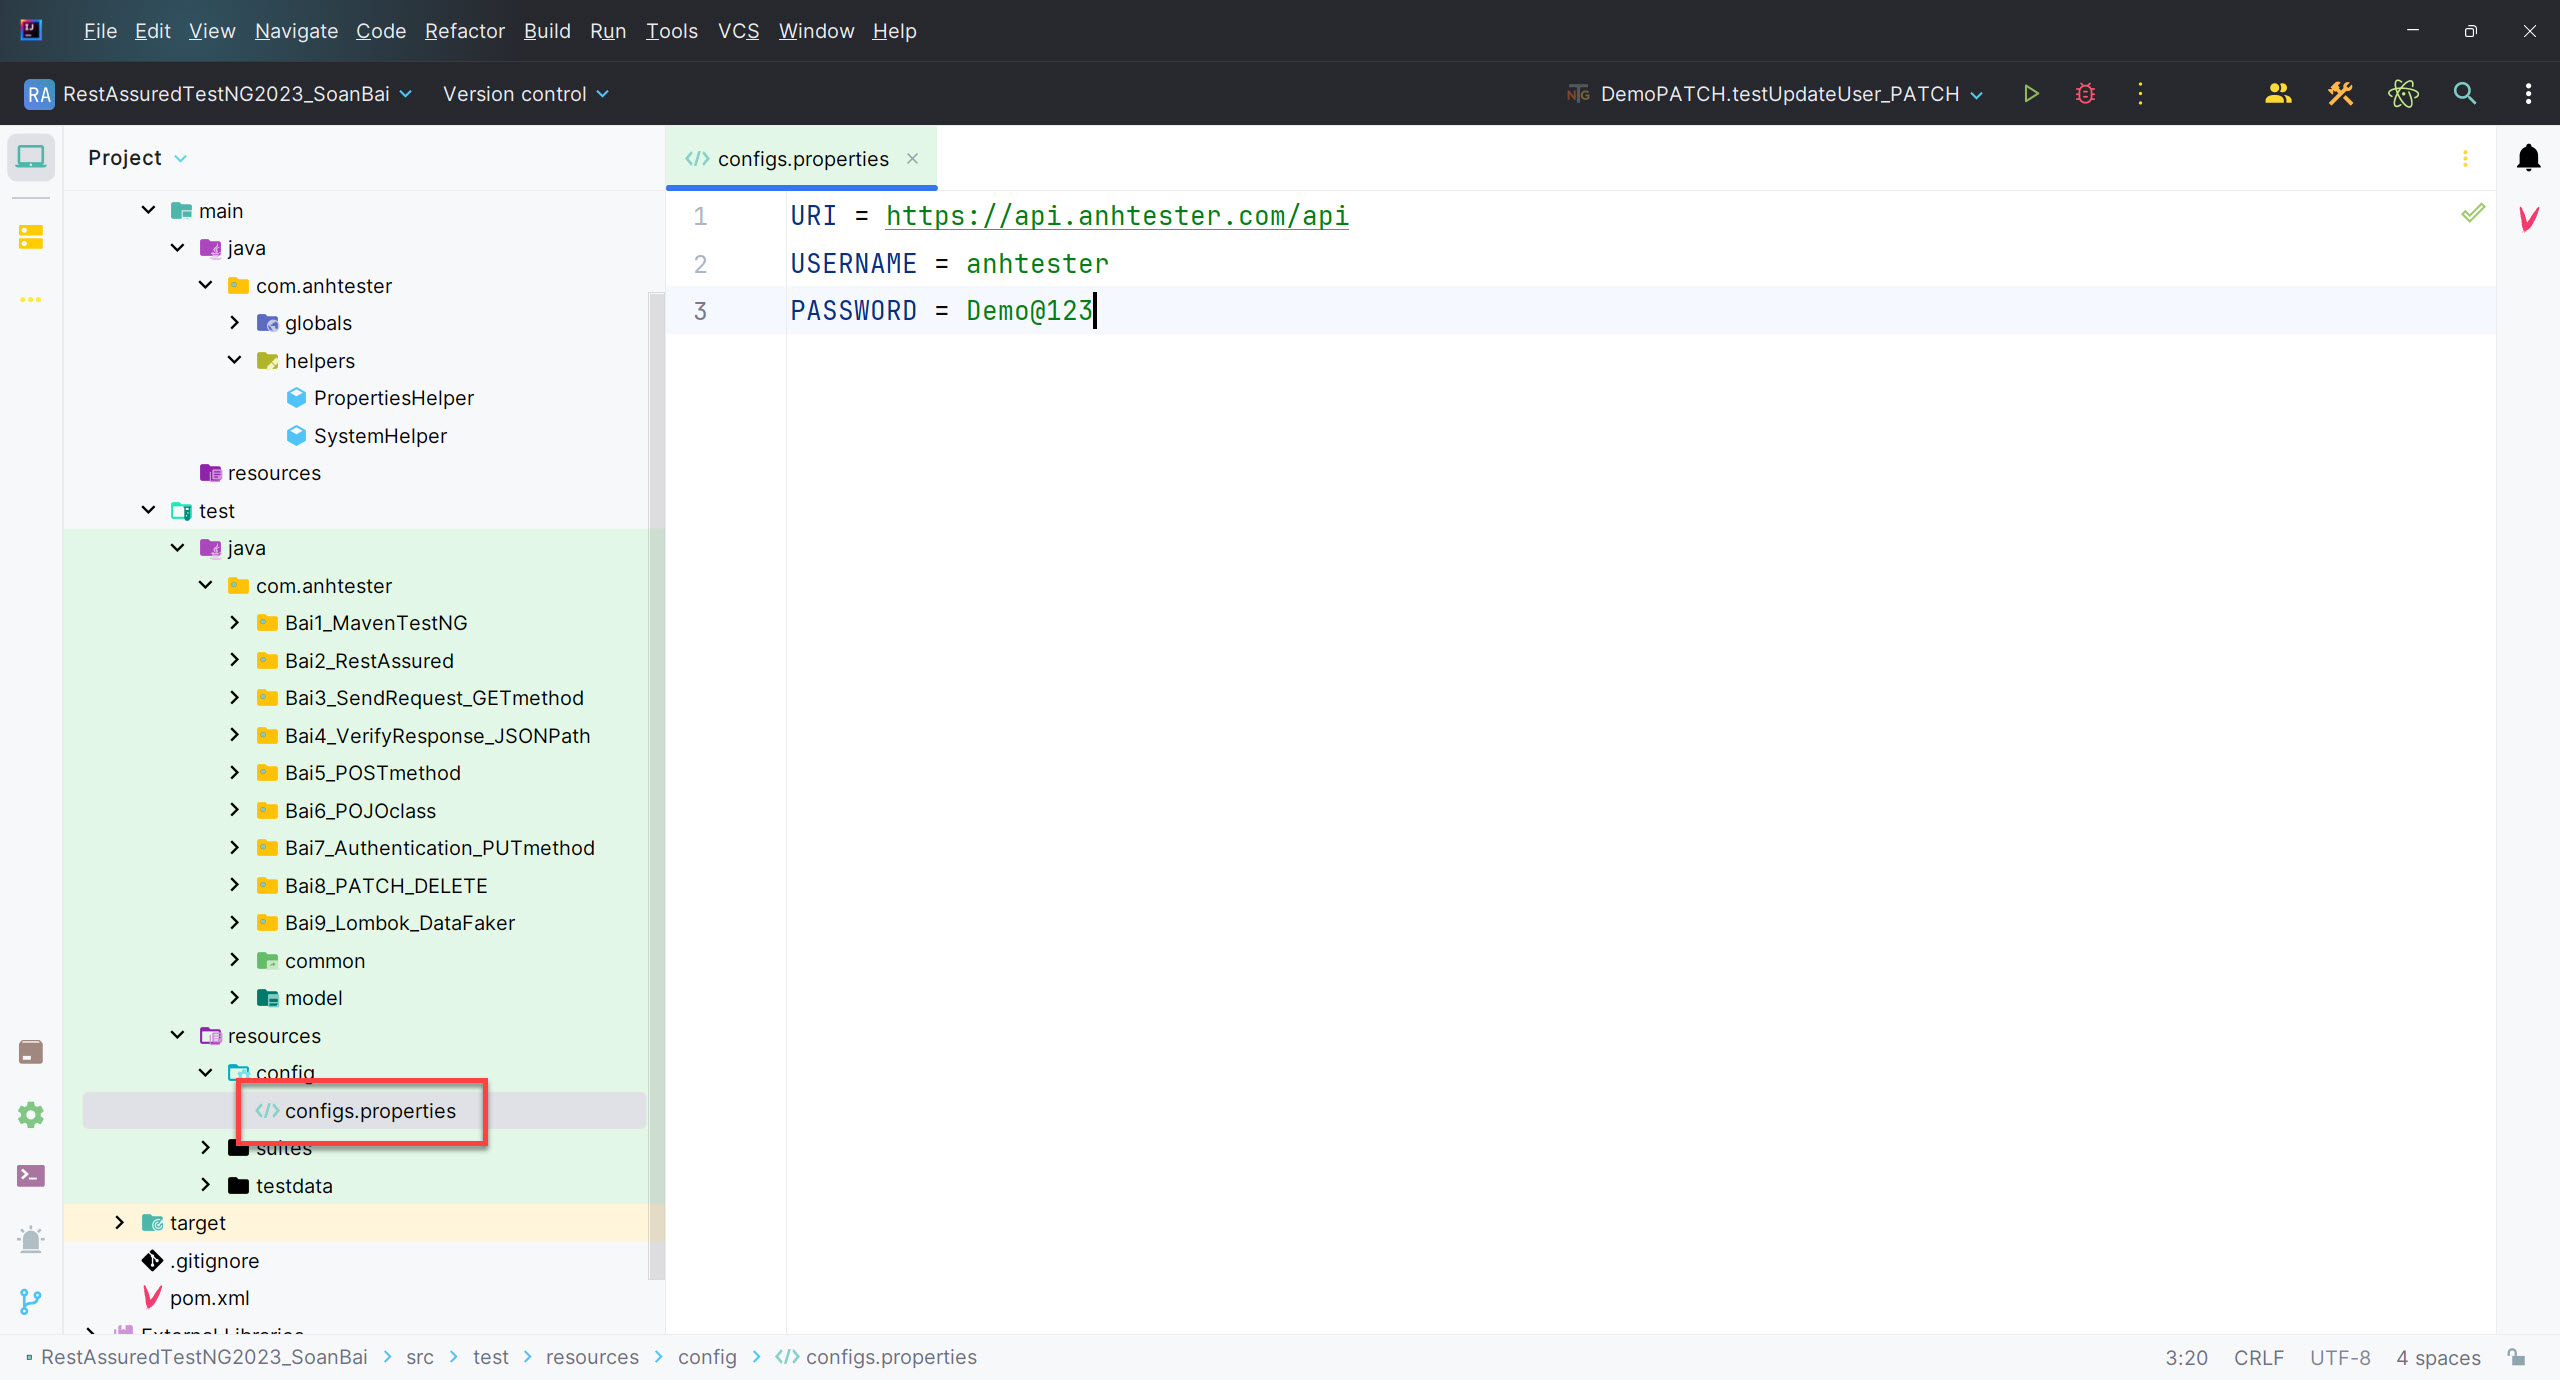
File properties này được Java thiết kế ra các class xử lý chuyên cho nó để người dùng có thể đọc hoặc ghi vào file.
🔆 Công dụng của file Properties trong Java
File Properties trong Java để lưu trữ các tham số có thể cấu hình của một ứng dụng, hay hiểu là dùng để đọc Data Config.
Properties là các giá trị được quản lý theo các cặp key/value. Trong mỗi cặp, key và value đều là kiểu String và value luôn là kiểu String. Key được sử dụng để truy xuất value, giống như tên biến được sử dụng để truy xuất giá trị của biến.
URI = https://api.anhtester.com/api
USERNAME = anhtester
PASSWORD = Demo@123
🔆 Cách đọc ghi file Properties trong Java
Đầu tiên tạo ra các file .properties mà mình mong muốn. Cụ thể như An lấy ví dụ là file configs.properties nhé
Tiếp theo sẽ tạo class SystemHelper để khai báo hàm getCurrentDir() để lấy đường dẫn của thư mục từ ổ đĩa.
package com.anhtester.helpers;

import java.io.File;

public class SystemHelper {

    public static String getCurrentDir() {
        return System.getProperty("user.dir") + File.separator;
    }

}
Tiếp theo tạo class để xây dựng các hàm đọc ghi file properties. Ví dụ An lấy tên class là PropertiesHelper.
package com.anhtester.helpers;

import java.io.FileInputStream;
import java.io.FileOutputStream;
import java.io.IOException;
import java.util.LinkedList;
import java.util.Properties;

public class PropertiesHelper {

    private static Properties properties;
    private static String linkFile;
    private static FileInputStream file;
    private static FileOutputStream out;
    private static String relPropertiesFilePathDefault = "src/test/resources/config/configs.properties";

    public static Properties loadAllFiles() {
        LinkedList<String> files = new LinkedList<>();
        //Add tất cả file Properties vào đây theo mẫu
        files.add("src/test/resources/config/configs.properties");
        //files.add("src/test/resources/config/configs2.properties");

        try {
            properties = new Properties();

            for (String f : files) {
                Properties tempProp = new Properties();
                linkFile = SystemHelper.getCurrentDir() + f;
                file = new FileInputStream(linkFile);
                tempProp.load(file);
                properties.putAll(tempProp);
            }
            return properties;
        } catch (IOException ioe) {
            return new Properties();
        }
    }

    public static void setFile(String relPropertiesFilePath) {
        properties = new Properties();
        try {
            linkFile = SystemHelper.getCurrentDir() + relPropertiesFilePath;
            file = new FileInputStream(linkFile);
            properties.load(file);
            file.close();
        } catch (Exception e) {
            e.printStackTrace();
        }
    }

    public static void setDefaultFile() {
        properties = new Properties();
        try {
            linkFile = SystemHelper.getCurrentDir() + relPropertiesFilePathDefault;
            file = new FileInputStream(linkFile);
            properties.load(file);
            file.close();
        } catch (Exception e) {
            e.printStackTrace();
        }
    }

    public static String getValue(String key) {
        String value = null;
        try {
            if (file == null) {
                properties = new Properties();
                linkFile = SystemHelper.getCurrentDir() + relPropertiesFilePathDefault;
                file = new FileInputStream(linkFile);
                properties.load(file);
                file.close();
            }
            // Lấy giá trị từ file đã Set
            value = properties.getProperty(key);
        } catch (Exception e) {
            System.out.println(e.getMessage());
        }
        return value;
    }

    public static void setValue(String key, String keyValue) {
        try {
            if (file == null) {
                properties = new Properties();
                file = new FileInputStream(SystemHelper.getCurrentDir() + relPropertiesFilePathDefault);
                properties.load(file);
                file.close();
                out = new FileOutputStream(SystemHelper.getCurrentDir() + relPropertiesFilePathDefault);
            }
            //Ghi vào cùng file Prop với file lấy ra
            out = new FileOutputStream(linkFile);
            System.out.println(linkFile);
            properties.setProperty(key, keyValue);
            properties.store(out, null);
            out.close();
        } catch (Exception e) {
            System.out.println(e.getMessage());
        }
    }

}
- Hàm loadAllFiles() để khởi tạo giá trị cho nhiều file properties setup sẵn trong hàm.
- Hàm setFile() để khởi tạo giá trị cho đối tượng properties của class Properties với đường dẫn đến file configs.properties trên.
- Hàm setDefaultFile() để khởi tạo giá trị cho đối tượng properties của class Properties với đường dẫn có sẵn trong class.
- Hàm getValue() để đọc file đã setup bên trên và lấy giá trị ra theo Key trong file đã tạo.
- Hàm setValue() để gán ngược giá trị vói key tương ứng vào lại file properties trên.
Chúng ta có thể chỉ định file properties default để khi nếu không có chỉ định cụ thể thì nó sẽ hiểu là lấy ra file default này:
private static String relPropertiesFilePathDefault = "src/test/resources/config/configs.properties";
🔆 Cách đọc giá trị từ properties file
Các bạn nhìn thấy là 3 cái hàm trong class PropertiesHelper đều là trạng thái static nên khi mình gọi thì lấy luôn cái tên class để chấm gọi chứ không cần khởi tạo đối tượng của class.
Đầu tiên phải gọi hàm loadAllFiles() để khởi tạo tất cả các file properties chỉ định trong chính hàm này
Còn nếu muốn chỉ định ở file cụ thể thì gọi hàm setFile(file path)
Tiếp theo muốn ĐỌC giá trị từ file properties thì gọi hàm getValue()
Cái giá trị "browser" là cái key trong file properties nhen.
Vậy thì khi gọi ra nó sẽ trả về hết quả kiểu String thôi. Cụ thể cái giá trị của key "browser" có giá trị là "chrome" đã tạo bên trên nên nó sẽ trả về giá trị là "chrome"
Ví dụ: mình get giá trị URI, USERNAME và PASSWORD từ file configs.properties
import com.anhtester.helpers.PropertiesHelper;
import org.testng.annotations.Test;

public class DemoReadProperties {
    @Test
    public void testReadFile() {
        //Gọi hàm loadAllFiles trước tiên để load tất cả các file properties vào chung bộ nhớ
        PropertiesHelper.loadAllFiles();

        //Sau đó gọi hàm getValue để lấy giá trị theo tên key
        System.out.println("URI: " + PropertiesHelper.getValue("URI"));
        System.out.println("USERNAME: " + PropertiesHelper.getValue("USERNAME"));
        System.out.println("PASSWORD: " + PropertiesHelper.getValue("PASSWORD"));
    }
}
Kết quả:
URI: https://api.anhtester.com/api
USERNAME: anhtester
PASSWORD: Demo@123
🔆 Cách ghi giá trị vào file properties
Trước tiên, các bạn cần chỉ định file cụ thể cần ghi vào thông qua hàm setFile(). Chúng ta sử dụng đường dẫn tương đối trong project hiện tại.
Tiếp theo, các bạn dùng hàm setValue() để truyền giá trị theo từng key, value là xong. Nếu key trùng nó sẽ cập nhật giá trị mới cho key hiện tại.
@Test
public void testWriteValue() {
    //Trước tiên chỉ định file cần set giá trị vào
    //Dùng đường dẫn tương đối
    //Ví dụ file configs.properties
    PropertiesHelper.setFile("src/test/resources/config/configs.properties");

    //Gọi hàm setValue để gán giá trị theo key
    PropertiesHelper.setValue("author", "Anh Tester");
}
Kết quả mở file configs.properties:
#Thu Dec 28 01:05:55 ICT 2023
PASSWORD=Demo@123
author=Anh Tester
USERNAME=anhtester
URI=https\://api.anhtester.com/api
✅ Tạo class chung để lưu configs data
Thay vì khi bạn gọi sử dụng giá trị từ Properties file nhiều lần thì bây giờ chúng ta cho nó vào class chung thông qua các biến static để gọi lại sử dụng đỡ bị duplicated code.
Tạo class tên ConfigsGlobal chẳng hạn
package com.anhtester.globals;

import com.anhtester.helpers.PropertiesHelper;

public class ConfigsGlobal {
    public static String URI = PropertiesHelper.getValue("URI");
    public static String USERNAME = PropertiesHelper.getValue("USERNAME");
    public static String PASSWORD = PropertiesHelper.getValue("PASSWORD");
}
Gọi lại sử dụng:
package com.anhtester.common;

import com.anhtester.globals.ConfigsGlobal;
import com.anhtester.globals.TokenGlobal;
import com.anhtester.model.LoginPOJO;
import com.google.gson.Gson;
import io.restassured.response.Response;
import io.restassured.specification.RequestSpecification;
import org.testng.annotations.BeforeMethod;

import static io.restassured.RestAssured.given;

public class BaseTest {
    @BeforeTest
    public void loginUser() {
        LoginPOJO loginPOJO = new LoginPOJO(ConfigsGlobal.USERNAME, ConfigsGlobal.PASSWORD);
        Gson gson = new Gson();

        RequestSpecification request = given();
        request.baseUri(ConfigsGlobal.URI)
                .accept("application/json")
                .contentType("application/json")
                .body(gson.toJson(loginPOJO));

        Response response = request.when().post("/login");
        response.then().statusCode(200);

        TokenGlobal.TOKEN = response.getBody().path("token");
        System.out.println("Token Global: " + TokenGlobal.TOKEN);
    }
}
✅ Tạo BaseTest để chứa các hàm chạy trước
Tuân theo tính chất kế thừa và thứ tự của các ghi chú Annotation trong TestNG thì chúng ta có thể xây dựng 1 class chung BaseTest để tất cả các class Test cases có thể kế thừa lại và sử dụng các hàm chung hoặc hàm chạy trước cho mỗi test cases.
package com.anhtester.common;

import com.anhtester.globals.ConfigsGlobal;
import com.anhtester.globals.TokenGlobal;
import com.anhtester.helpers.PropertiesHelper;
import com.anhtester.model.LoginPOJO;
import com.google.gson.Gson;
import io.restassured.response.Response;
import io.restassured.specification.RequestSpecification;
import org.testng.annotations.BeforeMethod;
import org.testng.annotations.BeforeSuite;

import static io.restassured.RestAssured.given;

public class BaseTest {

    @BeforeSuite
    public void setupSuite() {
        PropertiesHelper.loadAllFiles();
    }

    @BeforeTest
    public void loginUser() {
        LoginPOJO loginPOJO = new LoginPOJO(ConfigsGlobal.USERNAME, ConfigsGlobal.PASSWORD);
        Gson gson = new Gson();

        RequestSpecification request = given();
        request.baseUri(ConfigsGlobal.URI)
                .accept("application/json")
                .contentType("application/json")
                .body(gson.toJson(loginPOJO));

        Response response = request.when().post("/login");
        response.then().statusCode(200);

        TokenGlobal.TOKEN = response.getBody().path("token");
        System.out.println("Token Global: " + TokenGlobal.TOKEN);
    }
}
@BeforeMethod là ghi chú giúp chạy trước mỗi @Test, sau này An chỉ thêm cho các bạn các ghi chú khác ở bài sau.
@BeforeSuite là ghi chú giúp chạy trước nhất, trước các before khác
@BeforeTest là ghi chú giúp chạy trước @Test đầu tiên trong class
@BeforeClass là ghi chú giúp chạy trước tiên trong class
Theo thứ tự sẽ là @BeforeSuite > @BeforeTest > @BeforeClass > @BeforeMethod > @Test
Chính vì sự chạy trước đó mà chúng ta sẽ dùng nó để get TOKEN trước khi chạy test cases sẽ phù hợp. Hoặc load file Properties config trước nhất để sử dụng lại cho các gàm getValue ở nhiều nơi trong project.
Các class test cases cần kế thừa lại class BaseTest thì mới có hiệu lực
import com.anhtester.common.BaseTest;
import com.anhtester.globals.ConfigsGlobal;
import com.anhtester.globals.TokenGlobal;
import com.anhtester.model.RegisterUserPOJO_Lombok;
import com.google.gson.Gson;
import io.restassured.response.Response;
import io.restassured.specification.RequestSpecification;
import net.datafaker.Faker;
import org.testng.Assert;
import org.testng.annotations.Test;

import java.util.Locale;

import static io.restassured.RestAssured.given;

public class DemoBaseTest extends BaseTest {
    @Test
    public void testUpdateUser_PATCH() {

        Faker faker = new Faker(new Locale("vi"));
        String phoneNumber = faker.phoneNumber().cellPhone();
        phoneNumber = phoneNumber.replace(" ", "");

        RegisterUserPOJO_Lombok registerUserPOJO_lombok = new RegisterUserPOJO_Lombok();
        registerUserPOJO_lombok.setFirstName(faker.name().firstName());
        registerUserPOJO_lombok.setLastName(faker.name().lastName());
        registerUserPOJO_lombok.setEmail(faker.internet().emailAddress());
        registerUserPOJO_lombok.setPhone(phoneNumber);
        registerUserPOJO_lombok.setUserStatus(0);

        Gson gson = new Gson();

        RequestSpecification request = given();
        request.baseUri(ConfigsGlobal.URI)
                .accept("application/json")
                .contentType("application/json")
                .header("Authorization", "Bearer " + TokenGlobal.TOKEN)
                .body(gson.toJson(registerUserPOJO_lombok));

        Response response = request.when().patch("/user/2");
        response.prettyPrint();

        response.then().statusCode(200);

        String message = response.getBody().path("message");
        Assert.assertEquals(message, "Success", "The message not match.");
    }
}
✅ Xây dựng class Data Builder
Chúng ta sử dụng ghi chú @Builder của Lombok để xây dựng class khởi tạo data riêng cho các class POJO. Thay vì chúng ta khởi tạo chung trong từng test cases.
Đầu tiên thêm ghi chú @Builder vào class POJO
package com.anhtester.model;

import lombok.AllArgsConstructor;
import lombok.Builder;
import lombok.Data;
import lombok.NoArgsConstructor;

@Data
@AllArgsConstructor
@NoArgsConstructor
@Builder
public class RegisterUserPOJO_Lombok {
    private String username;
    private String firstName;
    private String lastName;
    private String email;
    private String password;
    private String phone;
    private int userStatus;
}
Tiếp theo xây dựng class riêng để khởi tạo data cho class POJO đó
package com.anhtester.model.data;

import com.anhtester.model.RegisterUserPOJO_Lombok;
import net.datafaker.Faker;

import java.util.Locale;

public class UserPOJO_Lombok_Builder {

    public static RegisterUserPOJO_Lombok getUserData() {

        Faker faker = new Faker(new Locale("vi"));
        String phoneNumber = faker.phoneNumber().cellPhone();
        phoneNumber = phoneNumber.replace(" ", "");

        return RegisterUserPOJO_Lombok.builder()
                .firstName(faker.name().firstName())
                .lastName(faker.name().lastName())
                .phone(phoneNumber)
                .email(faker.internet().emailAddress())
                .userStatus(1)
                .build();
    }

}
Chúng ta xây dựng hàm khởi tạo giá trị với sự kết hợp của DataFaker và các hàm hỗ trợ builder từ Lombok để khởi tạo giá trị cho các fields trong class POJO.
Sau cùng là gọi lại sử dụng bên test cases
import com.anhtester.common.BaseTest;
import com.anhtester.globals.ConfigsGlobal;
import com.anhtester.globals.TokenGlobal;
import com.anhtester.model.RegisterUserPOJO_Lombok;
import com.anhtester.model.data.UserPOJO_Lombok_Builder;
import com.google.gson.Gson;
import io.restassured.response.Response;
import io.restassured.specification.RequestSpecification;
import org.testng.Assert;
import org.testng.annotations.Test;

import static io.restassured.RestAssured.given;

public class DemoDataBuilder extends BaseTest {
    @Test
    public void testUpdateUser_PATCH() {

        RegisterUserPOJO_Lombok registerUserPOJO_lombok = UserPOJO_Lombok_Builder.getUserData();

        Gson gson = new Gson();

        RequestSpecification request = given();
        request.baseUri(ConfigsGlobal.URI)
                .accept("application/json")
                .contentType("application/json")
                .header("Authorization", "Bearer " + TokenGlobal.TOKEN)
                .body(gson.toJson(registerUserPOJO_lombok));

        Response response = request.when().patch("/user/2");
        response.prettyPrint();

        response.then().statusCode(200);

        String message = response.getBody().path("message");
        Assert.assertEquals(message, "Success", "The message not match.");
    }
}
Kết quả:
{
    "message": "Success",
    "response": {
        "id": 2,
        "username": "boiboi2456456",
        "firstName": "Đỗ",
        "lastName": "Bùi",
        "email": "tran.nhan@yahoo.com",
        "phone": "01634287862",
        "userStatus": 1
    }
}

===============================================
Default Suite
Total tests run: 1, Passes: 1, Failures: 0, Skips: 0
===============================================
Như vậy chúng ta đã tách biệt bộ data ra khỏi class test cases, làm giảm sự phức tạp trong code. Các class POJO khác các bạn có thể xây dựng class data riêng tương tự nếu cần.